Nurture Your Green Thumb on a Budget: DIY Seed Starting Trays from Repurposed Materials
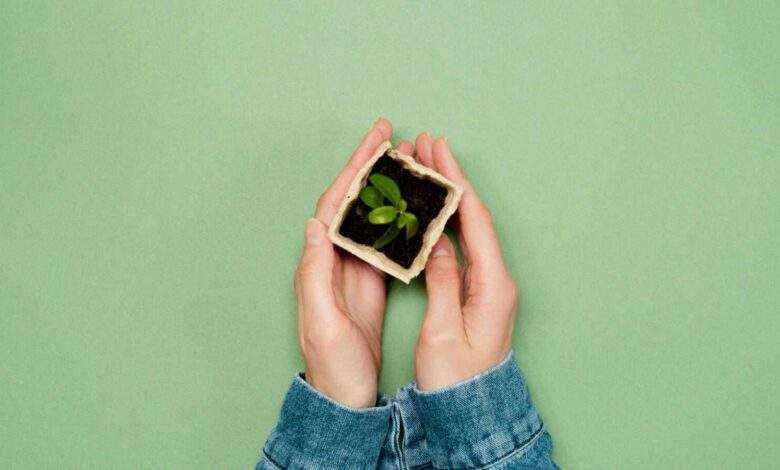
Table of Contents
Calling all plant parents (and wannabes)! Tired of paying a small fortune for tiny seedlings? Do visions of plastic sprout trays haunt your dreams? Well, fret no more, fellow green thumbs! Today, we’re embarking on a journey to transform your home into a seed-starting sanctuary.
We’re talking repurposed magic! Newspaper, egg cartons, yogurt cups – you name it, we’ll turn it into a seedling paradise. Not only will you be saving some serious green (pun intended!), but you’ll also be nurturing tiny plant babies from seed to spectacular splendor. Plus, there’s something undeniably satisfying about witnessing the miracle of life unfold right before your eyes (no pressure, though!).
So, grab your favorite mug of sunshine (or coffee, we don’t judge!), because we’re about to get our hands dirty and our seedlings sprouting. Buckle up, because this is going to be an epic journey of seed-starting awesomeness!
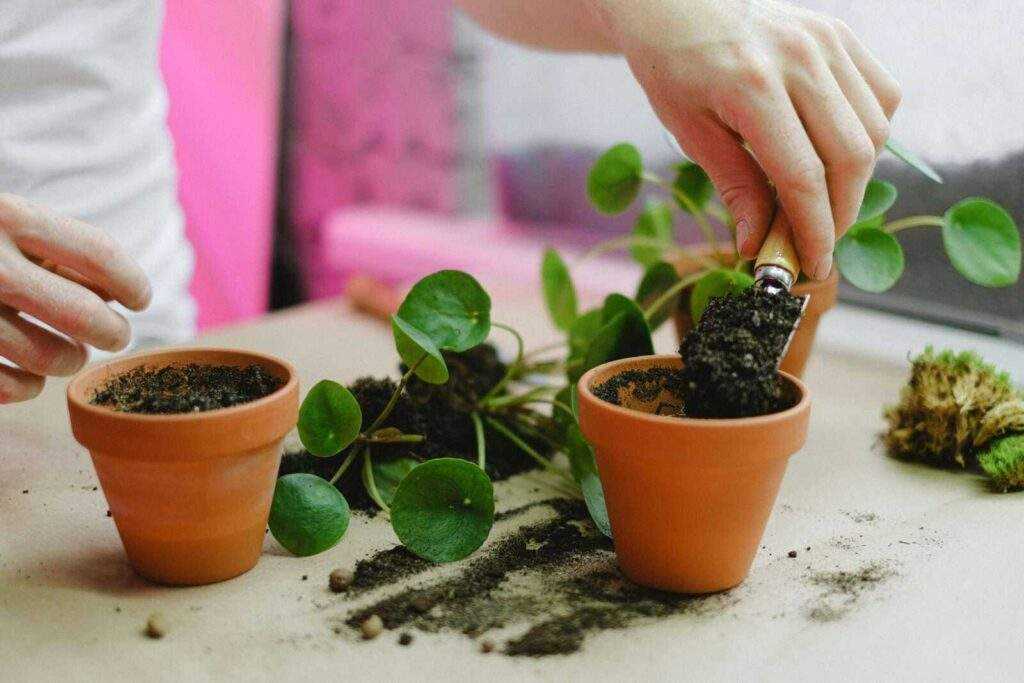
Section 1: The Joys of Seed Starting and Going Green
1.1 The Magic of Seed Starting: Cultivating Your Own Plants from Seed
Starting plants from seeds offers a sense of accomplishment and satisfaction that few other gardening activities can match. You get to witness the entire life cycle of a plant, from a tiny seed to a mature, productive plant. Seed starting also allows you to grow a wider variety of plants, including rare and heirloom varieties that are not typically available as seedlings.
- Benefits of Seed Starting:
- Cost-effective compared to buying seedlings.
- Greater variety of plants to choose from.
- Control over growing conditions and inputs.
- Ability to grow organic and non-GMO plants.
- Online Resources:
- The Old Farmer’s Almanac – Tips and guides on seed starting.
- Gardeners.com – Resources for all stages of seed starting.
- Fine Gardening – Articles and advice on starting seeds indoors.
1.2 Seed Starting on a Budget: Why Repurposed Materials Rule!
Using repurposed materials for seed starting trays is an excellent way to save money and reduce waste. Everyday items such as egg cartons, yogurt cups, and toilet paper rolls can be transformed into seed trays, making seed starting accessible to everyone.
- Cost-effectiveness of DIY Seed Starting Trays:
- Saves money on buying new seed trays.
- Encourages creative reuse of household items.
- Reduces environmental impact by minimizing waste.
- Online Resources:
- Instructables – DIY projects using repurposed materials.
- Pinterest – Search for “DIY seed starting trays” for ideas and tutorials.
- The Spruce – Guides on repurposing materials for gardening.
1.3 Eco-Friendly Seed Starting: Reducing Your Environmental Footprint
Repurposing materials for seed starting trays is an eco-friendly practice that contributes to reducing your carbon footprint. By avoiding the purchase of new plastic trays, you help decrease the demand for plastic production and reduce the amount of waste going to landfills.
- Sustainability Benefits of Repurposed Materials:
- Reduces plastic waste.
- Promotes recycling and upcycling.
- Encourages sustainable gardening practices.
- Online Resources:
- EcoWatch – Articles on sustainable living and gardening.
- Green Matters – Tips for eco-friendly gardening.
- Earth911 – Information on recycling and reducing waste.
1.4 Getting Started: Essential Seed Starting Supplies You Might Already Have
You likely have many of the supplies needed for seed starting already at home. Common household items can be repurposed to create an effective seed starting setup.
- Basic Supplies Needed for Seed Starting:
- Seed starting mix or homemade equivalent.
- Containers such as egg cartons, yogurt cups, or toilet paper rolls.
- Plastic wrap or clear plastic lids for creating a greenhouse effect.
- Labels for identifying different seeds.
- Online Resources:
- Epic Gardening – Comprehensive guides on seed starting.
- Garden Answer – YouTube channel with seed starting tutorials.
- MIGardener – Tips and tricks for seed starting and gardening.
Section 2: Repurposed Seed Starting Tray Ideas: A Gallery of Sustainable Options
2.1 Everyday Essentials: Transforming Common Household Items
Many common household items can be repurposed into seed starting trays, making the process affordable and eco-friendly.
- DIY Seed Starting Trays from Newspaper, Egg Cartons, Yogurt Cups:
- Newspaper Pots: Roll strips of newspaper around a small jar to form pots, then fill with seed starting mix.
- Egg Cartons: Fill each compartment with soil and plant seeds. The entire carton can be planted directly into the ground.
- Yogurt Cups: Clean and puncture the bottom for drainage, then fill with soil and seeds.
- Online Resources:
- YouTube – Search for “DIY newspaper seed pots” for video tutorials.
- Instructables – Step-by-step guides for making seed starting trays from household items.
- Pinterest – Ideas and tutorials for upcycling household items for seed starting.
2.2 Creative Upcycling: Breathing New Life into Discarded Materials
Think creatively about the items you might otherwise throw away. Plastic containers, cardboard boxes, and milk cartons can all be repurposed into seed starting trays.
- Seed Starting Trays from Plastic Containers, Cardboard Boxes, Milk Cartons:
- Plastic Containers: Old takeout containers or plastic tubs can be used. Just ensure they have drainage holes.
- Cardboard Boxes: Cut to size and line with a plastic bag to hold moisture.
- Milk Cartons: Cut the tops off, puncture holes for drainage, and fill with soil.
- Online Resources:
- The Spruce – Guides on repurposing plastic and cardboard for gardening.
- Pinterest – Search for “upcycled seed starting trays” for ideas and instructions.
- DIY Network – Tips for creative upcycling projects.
2.3 Seed Starting Trays for Specific Needs: Customization is Key!
Different plants have different requirements. Customize your seed starting trays to suit the specific needs of the plants you are growing.
- Seed Starting Trays for Vegetables, Herbs, or Microgreens:
- Vegetables: Deeper trays for plants with larger root systems.
- Herbs: Shallower trays or individual pots for easy transplanting.
- Microgreens: Shallow trays with good drainage and a large surface area.
- Online Resources:
- Fine Gardening – Articles on customizing seed starting setups.
- Epic Gardening – Guides on seed starting for different types of plants.
- Mother Earth News – Tips for growing vegetables, herbs, and microgreens from seed.
2.4 Free Seed Starting Containers: Saving Money and Saving the Planet
Before buying new materials, explore options for free seed starting containers. Many items destined for the recycling bin can be repurposed.
- Finding Free Materials for Seed Starting Trays:
- Plastic Bottles: Cut in half to create two seed starting containers.
- Clamshell Packaging: Use as mini greenhouses for your seeds.
- Paper Cups: Puncture holes for drainage and fill with soil.
- Online Resources:
- Freecycle – Find free items in your local area.
- Craigslist – Check the “Free” section for materials.
- Local Buy Nothing Groups – Join a community of people giving away free items.
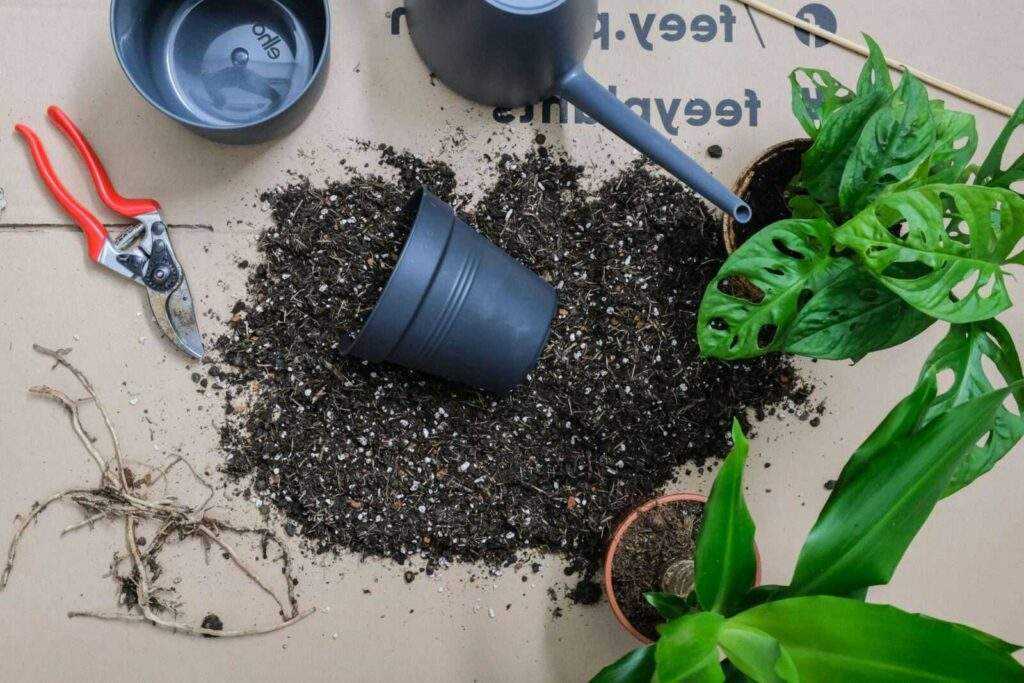
Section 3: Building Your DIY Seed Starting Trays: A Step-by-Step Guide
3.1 Choosing the Perfect Repurposed Material: Matching Project to Materials
Selecting the right material for your seed starting trays depends on the type of seeds you are planting and your specific needs.
- Selecting Appropriate Materials Based on Seed Type and Desired Design:
- Egg Cartons: Ideal for small seeds and plants that can be transplanted as a whole.
- Plastic Containers: Suitable for larger seeds and plants that need more space.
- Toilet Paper Rolls: Great for plants with deep root systems.
- Online Resources:
- Gardeners.com – Guides on choosing the right seed starting materials.
- YouTube – Search for “seed starting materials” for video guides.
- The Old Farmer’s Almanac – Advice on seed starting containers and materials.
3.2 Preparing Your Repurposed Materials: Cleaning, Sanitizing, and Making Drainage Holes
Proper preparation of your materials is essential to prevent diseases and ensure healthy seedling growth.
- Importance of Proper Preparation Before Using Repurposed Materials:
- Cleaning: Wash containers with soap and water to remove any residues.
- Sanitizing: Use a mild bleach solution to kill any pathogens.
- Drainage: Puncture holes in the bottom of containers to allow excess water to escape.
- Online Resources:
- Fine Gardening – Articles on preparing seed starting materials.
- YouTube – Tutorials on cleaning and sanitizing seed trays.
- Gardeners.com – Tips for preparing containers for seed starting.
3.3 Seeding and Planting:
Giving Your Seeds the Perfect Start
Planting seeds correctly is crucial for successful germination and healthy seedlings.
- Techniques for Seeding and Planting in DIY Seed Starting Trays:
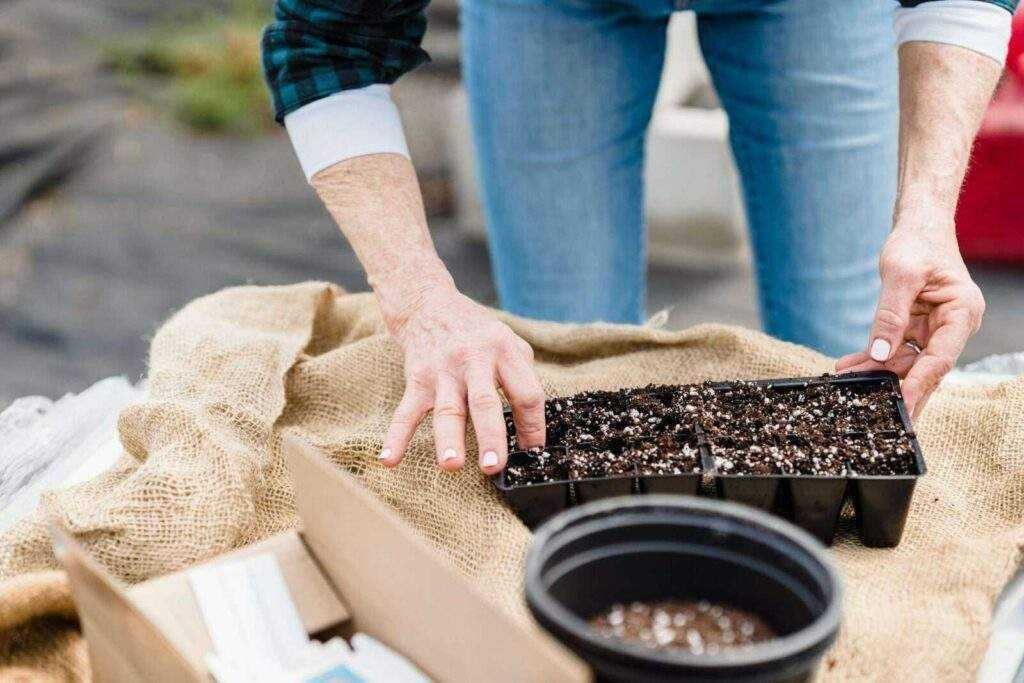
- Filling Trays: Use a high-quality seed starting mix.
- Planting Depth: Follow seed packet instructions for planting depth.
- Labeling: Clearly label each tray with the seed variety and planting date.
- Online Resources:
- Epic Gardening – Detailed guides on planting seeds.
- Garden Answer – YouTube videos on seeding techniques.
- MIGardener – Tips for planting and labeling seeds.
3.4 Creating a Mini Greenhouse Environment: Nurturing Your Seedlings
A mini greenhouse helps maintain the necessary humidity and temperature for seed germination.
- Maintaining Proper Humidity and Temperature for Seed Germination:
- Covering Trays: Use plastic wrap or clear lids to retain moisture.
- Heat Mats: Provide bottom heat to promote faster germination.
- Light: Place trays in a bright location or under grow lights.
- Online Resources:
- Gardeners.com – Products and advice for creating a mini greenhouse.
- YouTube – Search for “DIY mini greenhouse” for tutorials.
- The Old Farmer’s Almanac – Tips on maintaining optimal conditions for seedlings.
Section 4: Beyond the Basics: Tips and Tricks for Seed Starting Success
4.1 Seed Selection: Choosing the Right Seeds for Your Climate and Preferences
Selecting the right seeds is the first step towards a successful garden. Choose seeds that are well-suited to your climate and meet your gardening goals.
- Choosing Seeds Suitable for Your Location and Desired Plants:
- Local Varieties: Opt for seeds that are proven to grow well in your region.
- Heirloom and Organic Seeds: Consider heirloom varieties for their unique characteristics and organic seeds for chemical-free growing.
- Preferences: Choose seeds based on your personal preferences, whether it’s vegetables, herbs, or flowers.
- Online Resources:
- Baker Creek Heirloom Seeds – Wide selection of heirloom seeds.
- Johnny’s Selected Seeds – Organic and heirloom seeds.
- Seed Savers Exchange – Non-GMO, heirloom seeds.
4.2 Seed Starting Mix Magic: Finding the Perfect Growing Medium
A good seed starting mix is essential for healthy seedling growth. It should be light, well-draining, and free of pathogens.
- Importance of Using Appropriate Seed Starting Mix:
- Commercial Mixes: Often sterile and well-balanced.
- Homemade Mixes: Combine peat moss, vermiculite, and perlite for a cost-effective option.
- Coconut Coir: A sustainable alternative to peat moss.
- Online Resources:
- Gardeners.com – Products and advice on seed starting mixes.
- YouTube – Tutorials on making homemade seed starting mix.
- The Spruce – Articles on different types of growing media.
4.3 Watering Wisely: Keeping Your Seedlings Hydrated Without Drowning Them
Proper watering is crucial to prevent seed rot and ensure healthy growth. Too much or too little water can both be detrimental.
- Watering Techniques for Seed Starting Trays:
- Bottom Watering: Place trays in a shallow dish of water to allow soil to soak up moisture from the bottom.
- Misting: Use a spray bottle to gently mist the soil surface.
- Consistency: Keep the soil consistently moist but not waterlogged.
- Online Resources:
- Epic Gardening – Tips on watering seedlings.
- Garden Answer – Videos on proper watering techniques.
- Mother Earth News – Advice on watering and moisture management.
4.4 Seedling Care: Providing the Right Light and Temperature
Light and temperature are critical factors for seedling growth. Too little light can cause leggy seedlings, while improper temperature can hinder germination.
- Light and Temperature Requirements for Optimal Seedling Growth:
- Grow Lights: Use full-spectrum grow lights if natural light is insufficient.
- Temperature: Maintain a temperature of 65-75°F for most seedlings.
- Adjusting Light: Keep lights 2-3 inches above seedlings and adjust as they grow.
- Online Resources:
- Fine Gardening – Articles on light and temperature for seedlings.
- Epic Gardening – Guides on using grow lights.
- Gardeners.com – Products and advice on seedling care.
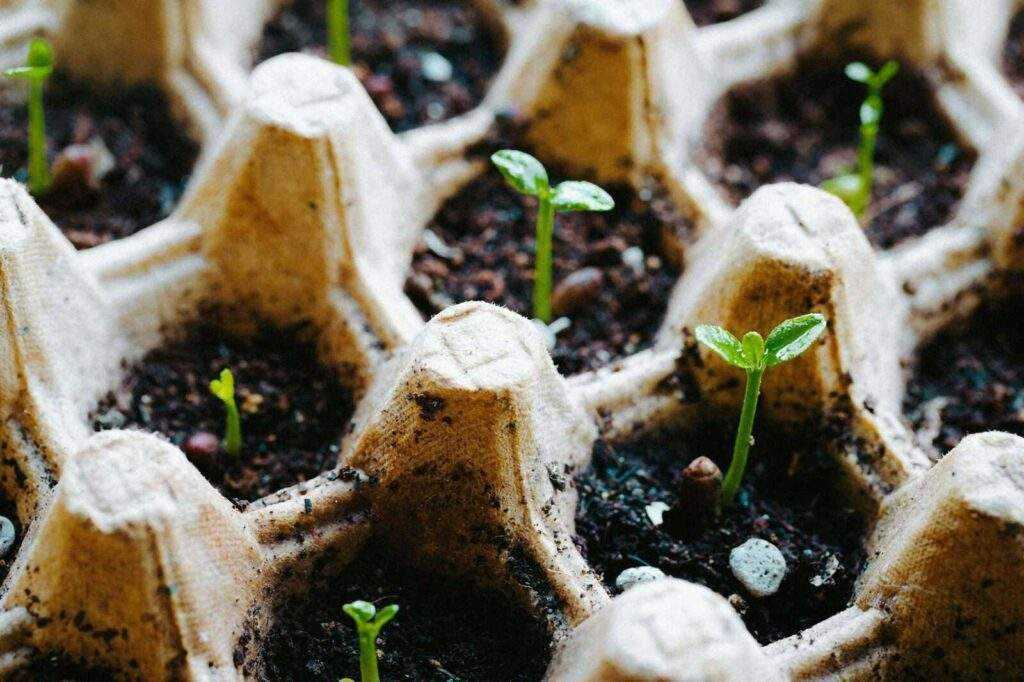
Section 5: Troubleshooting Your Seed Starting Journey: Solutions for Common Hiccups
5.1 Leggy Seedlings: Stretching for the Light
Leggy seedlings are a common issue caused by insufficient light. They grow tall and spindly as they stretch towards the light source.
- Identifying and Addressing the Issue of Leggy Seedlings:
- Increase Light: Provide more light by using grow lights or placing seedlings in a brighter location.
- Adjust Light Distance: Keep grow lights close to seedlings (2-3 inches above).
- Rotate Trays: Regularly rotate trays to ensure even light exposure.
- Online Resources:
- Epic Gardening – Tips for preventing and fixing leggy seedlings.
- Garden Answer – Videos on dealing with leggy seedlings.
- Fine Gardening – Articles on seedling care and light management.
5.2 Seedling Damping-Off: Recognizing and Preventing this Fungal Disease
Damping-off is a fungal disease that causes seedlings to rot at the base and collapse. It’s often caused by overwatering, poor ventilation, or contaminated soil.
- Causes and Prevention of Damping-Off in Seed Starting Trays:
- Sanitize: Use clean, sterile containers and tools.
- Air Circulation: Ensure good ventilation around seedlings.
- Watering: Avoid overwatering and use well-draining soil.
- Online Resources:
- Gardeners.com – Articles on preventing damping-off.
- The Old Farmer’s Almanac – Tips for dealing with seedling diseases.
- Epic Gardening – Advice on preventing and treating damping-off.
5.3 Uneven Germination: Why Some Seeds Take Longer
Not all seeds germinate at the same rate. Factors such as seed viability, soil temperature, and moisture can affect germination.
- Reasons for Uneven Germination and Solutions:
- Seed Quality: Ensure you use fresh, high-quality seeds.
- Consistent Conditions: Maintain consistent moisture and temperature.
- Pre-soaking: Soak hard seeds before planting to speed up germination.
- Online Resources:
- Johnny’s Selected Seeds – Guides on seed germination.
- Seed Savers Exchange – Tips for successful seed starting.
- Mother Earth News – Articles on improving germination rates.
5.4 Repurposed Material Mishaps: Addressing Leaks or Drainage Issues
Using repurposed materials for seed starting trays can sometimes lead to issues like leaks or inadequate drainage.
- Troubleshooting Leaks and Drainage Problems in DIY Seed Starting Trays:
- Check Drainage: Ensure there are enough drainage holes.
- Fix Leaks: Use waterproof tape or additional lining to seal leaks.
- Monitor Moisture: Adjust watering to prevent waterlogging.
- Online Resources:
- Instructables – Solutions for common DIY seed tray issues.
- YouTube – Search for “fixing seed tray leaks” for video tutorials.
- Pinterest – Tips and tricks for troubleshooting seed starting trays.
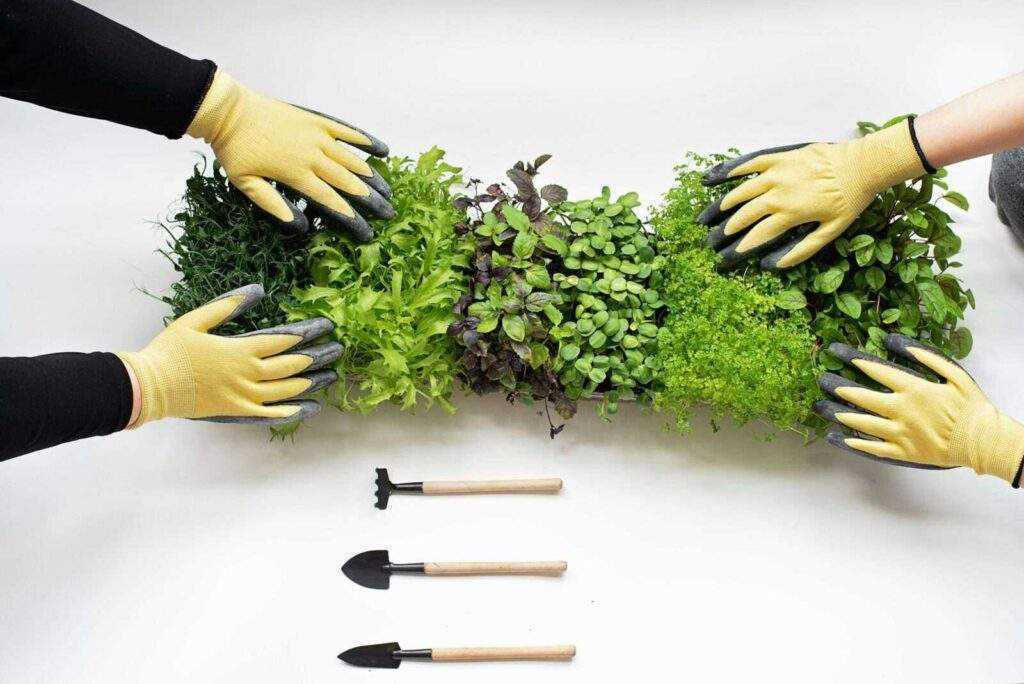
Section 6: From Seedlings to Strong Plants: Successfully Transplanting Your Seedlings
6.1 Hardening Off Process: Preparing Your Seedlings for the Outdoors
Hardening off is the process of gradually acclimating seedlings to outdoor conditions to prevent transplant shock.
- Importance of Hardening Off Seedlings Before Transplanting:
- Gradual Exposure: Start with a few hours of outdoor exposure each day, increasing gradually.
- Protect from Elements: Shield seedlings from wind and direct sunlight initially.
- Monitor Conditions: Bring seedlings inside if temperatures drop too low.
- Online Resources:
- Gardeners.com – Guides on hardening off seedlings.
- Epic Gardening – Tips for a successful hardening off process.
- Mother Earth News – Articles on preparing seedlings for the outdoors.
6.2 Choosing the Right Time to Transplant: When Your Seedlings Are Ready for the Big Move
Timing is crucial when transplanting seedlings to ensure they establish well in their new location.
- Signs Indicating Seedlings Are Ready for Transplanting:
- True Leaves: Seedlings have several sets of true leaves.
- Root Development: Roots are well-developed but not root-bound.
- Weather Conditions: Frost-free and stable weather forecast.
- Online Resources:
- The Old Farmer’s Almanac – Tips on when to transplant seedlings.
- Epic Gardening – Guides on transplanting timing.
- Fine Gardening – Articles on transplanting seedlings.
6.3 Selecting the Perfect Planting Location: Matching Plants to Sunlight and Soil Conditions
Choosing the right spot in your garden is essential for the health and productivity of your plants.
- Choosing the Right Spot in Your Garden for Transplanting:
- Sunlight: Ensure the location matches the sunlight requirements of the plant.
- Soil: Test soil pH and fertility, and amend if necessary.
- Spacing: Provide adequate space for each plant to grow.
- Online Resources:
- Gardeners.com – Advice on garden planning and plant placement.
- Epic Gardening – Guides on choosing planting locations.
- The Old Farmer’s Almanac – Tips on matching plants to garden conditions.
6.4 Transplanting Techniques: Giving Your Plants a Smooth Transition
Proper transplanting techniques minimize stress and help seedlings establish quickly in their new environment.
- Techniques for Transplanting Seedlings from Seed Starting Trays to the Garden:
- Watering: Water seedlings well before transplanting.
- Digging Holes: Dig holes slightly larger than the root ball.
- Planting Depth: Plant seedlings at the same depth they were in the tray.
- Aftercare: Water thoroughly and protect from harsh sun or wind.
- Online Resources:
- Fine Gardening – Articles on transplanting techniques.
- Epic Gardening – Step-by-step transplanting guides.
- Gardeners.com – Products and advice for transplanting seedlings.
Section 7: Flaunt Your Seed Starting Success: Share the Joy of Growing Your Own Food
7.1 Showcase Your DIY Seed Starting Trays: Inspiring Others with Repurposed Creations
Share your DIY projects online to inspire others to start their own seed starting journey.
- Sharing Photos of Your DIY Seed Starting Trays Online:
- Social Media: Post on Instagram, Facebook, and Pinterest.
- Gardening Forums: Join online gardening communities and share your projects.
- Blogs: Start a gardening blog to document your journey.
- Online Resources:
- Instagram – Use hashtags like #DIYSeedTrays.
- Pinterest – Pin and share your projects.
- Reddit – Share and discuss in gardening subreddits.
7.2 Start a Seed Swap with Friends and Neighbors: Sharing Seeds and Gardening Knowledge
Seed swaps are a great way to exchange seeds and gardening tips with your community.
- Exchange Seeds and Gardening Tips with Your Community:
- Organize Local Events: Host a seed swap event in your neighborhood.
- Online Swaps: Join online seed swapping communities.
- Community Gardens: Participate in community garden seed exchanges.
- Online Resources:
- Seed Savers Exchange – Organize and join seed swaps.
- Facebook Groups – Search for local gardening groups.
- GardenWeb – Online forums for seed swapping.
7.3 Grow Your Own Food Journey: Documenting Your Seed Starting Adventures
Keep a record of your seed starting journey to track progress and learn from your experiences.
- Keeping a Record of Your Seed Starting Journey:
- Gardening Journal: Document planting dates, growth stages, and observations.
- Photos and Videos: Take photos and videos to visually track progress.
- Blog or Social Media: Share updates and lessons learned with others.
- Online Resources:
- Gardeners.com – Tips for keeping a gardening journal.
- Pinterest – Ideas for garden documentation.
- Instagram – Share your gardening journey.
7.4 Join the Seed Starting Community: Connecting with Fellow Gardening Enthusiasts
Engage with the gardening community to share knowledge, get advice, and celebrate successes together.
- Engaging with Online Gardening Communities:
- Social Media Groups: Join Facebook groups and follow gardening hashtags.
- Gardening Forums: Participate in discussions on gardening forums.
- Local Clubs: Join local gardening clubs and attend events.
- Online Resources:
- Facebook Groups – Search for gardening groups.
- Reddit – Join discussions in gardening subreddits.
- GardenWeb – Forums for connecting with gardeners.
Section 8: The Final Note: Seed Starting – More Than Just Trays
8.1 The Seed Starting Mindset: Cultivating Patience, Observation, and a Love for Learning
Seed starting teaches valuable lessons in patience, observation, and continuous learning. It’s a journey that fosters a deeper connection with nature.
- Importance of Patience, Observation, and Continuous Learning in Seed Starting:
- Patience: Seeds take time to grow; patience is key.
- Observation: Regularly check on seedlings to monitor growth and address issues.
- Learning: Every season offers new insights and lessons.
- Online Resources:
- The Old Farmer’s Almanac – Articles on the joys of gardening.
- Mother Earth News – Inspirational stories and gardening tips.
- Epic Gardening – Resources for continuous learning.
8.2 Beyond Seedlings: Expanding Your Repurposed Gardening Projects
Take your upcycling skills beyond seed starting trays and explore other repurposed gardening projects.
- Exploring Upcycling Projects for Other Gardening Needs:
- Garden Decor: Create garden markers, planters, and decorations from repurposed materials.
- Composting: Build a compost bin from recycled wood pallets.
- Watering Solutions: Make a rain barrel from an old drum.
- Online Resources:
- Instructables – DIY upcycling projects for the garden.
- Pinterest – Ideas for repurposed garden projects.
- YouTube – Tutorials on upcycling for gardening.
8.3 The Rewards of Seed Starting: Fresh, Homegrown Food and a Connection to Nature
The ultimate reward of seed starting is the fresh, homegrown food you harvest and the connection you build with nature.
- Highlighting the Benefits and Satisfaction of Growing Your Own Food:
- Freshness: Enjoy the taste of freshly picked produce.
- Health: Grow organic, pesticide-free vegetables and herbs.
- Connection to Nature: Experience the joy of nurturing and harvesting your own plants.
- Online Resources:
- Epic Gardening – Benefits of growing your own food.
- Mother Earth News – Articles on home gardening and sustainability.
- Gardeners.com – Advice on enjoying the fruits of your labor.
8.4 Start Small, Dream Big: Seed Starting as a Gateway to a Sustainable Garden
Seed starting is just the beginning. It can lead to a larger, more sustainable gardening journey.
- Encouragement to Start Small and Gradually Grow Your Gardening Endeavors:
- Small Steps: Begin with a few plants and expand as you gain confidence.
- Sustainability: Incorporate sustainable practices like composting and rainwater harvesting.
- Dream Big: Plan for a diverse garden with a variety of plants and sustainable features.
- Online Resources: Gardeners.com – Tips for expanding your garden sustainably.
- Mother Earth News – Guides on sustainable gardening practices.
- Epic Gardening – Advice on growing a diverse and sustainable garden.
FAQ: Building Your Seed Starting Oasis – Repurposed Seed Trays and Seed Starting Success!
We’ve explored the wonderful world of DIY seed starting trays and the joy of nurturing your own plants from seed. But you might still have some questions. Fear not, fellow green thumb! This FAQ section tackles 10 top questions that might be sprouting in your mind. Let’s ensure your seed starting journey is a flourishing success!
1. What are the benefits of seed starting?
Seed starting allows you to choose specific varieties, save money compared to buying seedlings, and experience the satisfaction of growing your own plants from scratch.
2. What are some good materials for repurposed seed starting trays?
Newspaper, egg cartons, yogurt cups, plastic containers, cardboard boxes, and milk cartons are all excellent options!
3. How do I prepare my repurposed materials for seed starting?
Clean them thoroughly with soap and water. For some materials, like cardboard, consider lining them with plastic wrap or a trash bag to prevent leaks.
4. What kind of soil should I use for seed starting?
Opt for a seed starting mix specifically formulated for seedlings. It’s lightweight, sterile, and promotes good drainage.
5. How often should I water my seedlings?
The frequency depends on the type of seed and the climate. Aim to keep the soil moist but not soggy. Check daily and water when the top layer of soil feels dry to the touch.
6. How much light do my seedlings need?
Most seedlings require around 14-16 hours of bright, indirect light daily. Consider using grow lights if natural light is limited.
7. What are some signs my seedlings need to be transplanted?
When seedlings have developed 2-4 true leaves (not the initial cotyledons), it’s time to transplant them to larger pots or your garden.
8. How can I harden off my seedlings before transplanting?
Gradually expose your seedlings to outdoor conditions for a week or two before transplanting. Start with short periods in dappled shade and gradually increase the duration and intensity of sunlight exposure.
9. What are some common seed starting problems, and how can I avoid them?
Leggy seedlings (caused by insufficient light) can be prevented by providing adequate light. Damping-off (fungal disease) can be addressed by maintaining proper ventilation and avoiding overwatering. Uneven germination can occur due to various factors. Ensure consistent temperature and moisture levels for optimal germination.
10. Where can I find more seed starting tips and resources?
There’s a wealth of information online! Gardening websites, YouTube channels, and seed companies often offer detailed seed starting guides and tutorials. Local gardening clubs and libraries can also be valuable resources.
With this FAQ as your guide, you’re well on your way to a thriving seed starting adventure using repurposed materials. So, grab your recycled treasures, sow those seeds, and watch your green oasis flourish!
High fives all around! You’ve successfully navigated the world of DIY seed starting trays from repurposed materials. You’ve become a plant whisperer, a repurposing pro, and a champion of sustainable gardening. Look at those little seedlings – thriving under your care, ready to be transplanted and become the stars of your garden!
Don’t stop the music now! Share your seed-starting journey online, inspire your friends and family, and maybe even throw a “Seedling Showcase Soiree.” After all, what’s more satisfying than witnessing your green thumb flourish? Remember, seed starting is a journey, not a destination. So, keep learning, keep experimenting, and keep nurturing those tiny plant dreams. Who knows, maybe one day you’ll be the proud owner of a thriving urban jungle, all thanks to the magic of repurposed seed starting trays. Happy planting, and may your seed-starting symphony continue to play beautiful music!

