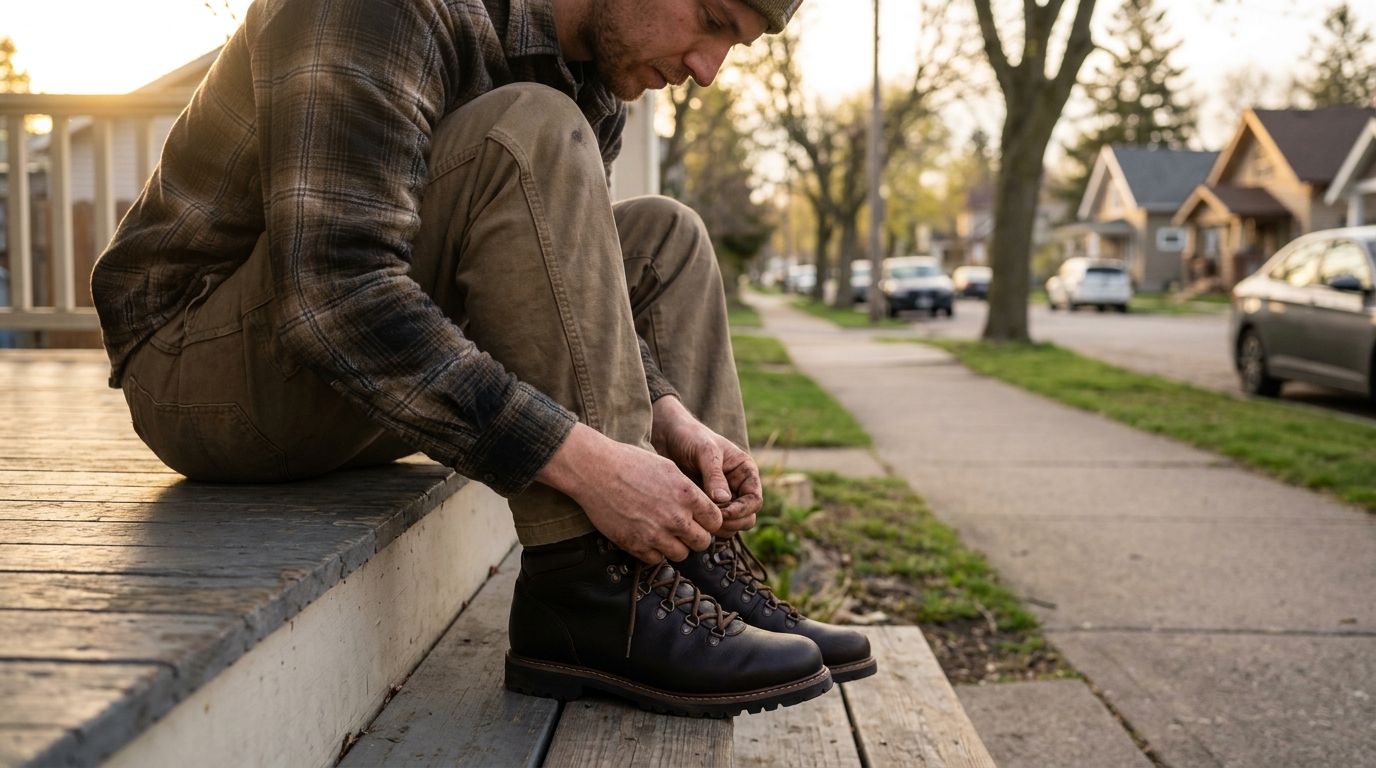
⏱️ SPEED BREAK-IN PROTOCOL
BREAK IN BOOTS
FAST WITHOUT
BLISTERS
The 4-Phase Progression
Taking brand new boots straight to a 10-mile mountain trail causes 90% of severe trail blister evacuations.
PHASE 01 • INDOORS
WEAR AT HOME
WITH TRAIL SOCKS
2-3 DAYSINITIAL INDOOR
MOLDING
MOLDING
Wear boots while cooking and working at home. Body heat warms the EVA midsoles and leather collars, creating an initial foot mold without abrasive trail grit.
👉 Keep Tags: Indoor wear preserves the return policy if you discover an unfixable pressure point.
PHASE 02 • URBAN WALKS
2-MILE PAVEMENT
& STAIR TEST
2 MILESLOCAL DISTANCE
BENCHMARK
BENCHMARK
Take 2 to 3-mile walks on flat sidewalks and climb stairs. Stairs flex the forefoot break zone and test whether heel lift exceeds 3mm.
👉 Hot Spot Alert: Apply Leukotape to red spots immediately before friction produces a blister bubble.
PHASE 03 • SHAKEDOWN
THE 4-MILE
DIRT TRIAL
+15 LBSPACK WEIGHT
REALISM
REALISM
Hike an easy local dirt trail with 15 lbs in your pack. The uneven surface engages ankle gussets and compresses footbeds into custom contours.
👉 Golden Rule: Never use hot water submersions or oven baking — it dissolves waterproof glue bonds.
ACTION STEP • FULL GUIDE
TRAIL-READY IN
ONE WEEK
5 METHODSVERIFIED LEATHER &
SYNTHETIC FIXES
SYNTHETIC FIXES
Unlock the full break-in protocol with lacing modifications, conditioner guides, and insole swap recommendations.
Tap below to read the comprehensive boot break-in blueprint.