


FAMA is reader-supported. When you buy through links on our site, we may earn an affiliate commission at no extra cost to you. Learn more.
Water bottle vs hydration bladder for hiking: most hikers actually pick the bottle, especially when they’re just starting out. A SectionHiker survey of 485 day hikers found 63% preferred bottles over bladders, and the reasons were practical, not nostalgic. Bottles cost less upfront, usually under fifteen dollars for something durable, versus thirty or forty for a decent bladder setup. There’s less to clean too, just one opening you can scrub in ten seconds, instead of a hose and bite valve that grow mold if left damp. And with a bottle you glance down and know exactly how much water is left.
I found that out the hard way on a ten mile loop in July. My bladder tube kinked somewhere around mile four, right where the trail climbed out of the trees and the shade disappeared. I didn’t catch it until I went to drink and got nothing, just air through the valve. No way to check the level without stopping, pulling the pack off, and digging through my gear. By the time I sorted it out I’d lost fifteen minutes in ninety degree heat.
That said, bladders aren’t a bad choice, they’re just a choice that rewards experience. Hikers who’ve logged enough miles to trust their gear, check their tube before every trip, and drink on the move without breaking stride get real value from one, especially on long, hot days where stopping to unscrew a cap gets old fast. For someone new to trail, though, the bottle stays the safer bet.
This guide breaks down the differences that actually explain that 63%, starting with cost and working through the ones that matter most once you’re actually out on trail.
⚡ Quick Trail Takeaways
- Drinking Convenience: Bladders encourage frequent, small sips through a bite valve without stopping, improving hydration consistency.
- Monitoring Fluid Levels: Water bottles make it easy to see exactly how much fluid you have left, whereas bladders hide remaining volume inside the pack.
- Cleaning & Durability: Wide-mouth bottles (like Nalgene) are virtually indestructible and easy to clean, while hydration reservoirs require dedicated drying kits.
Table of Contents
Why This Isn’t Really a “Which Is Better” Question
Water bottle vs hydration bladder for hiking, simplified
Here’s the thing: a bottle and a bladder aren’t competing for the same job, so asking which one is “better” is the wrong question. A bottle is a simple, cheap, nearly indestructible container. A bladder is a higher-capacity, hands-free system that costs more and asks more of you in return. Once you frame it that way, the right answer stops being about which product wins and starts being about which job you actually have.
For a maintained day hike under 8 miles, a bottle handles that job completely, and most beginners are better served starting there. A bladder earns its place under specific conditions: longer mileage, real heat, or hikes where your hands are already busy with poles or a leash. Neither one is the “starter” version of the other. They’re different tools, and the five differences below are what actually separates them in practice.
🥾 Oliver’s Trail Notes & Field Observations
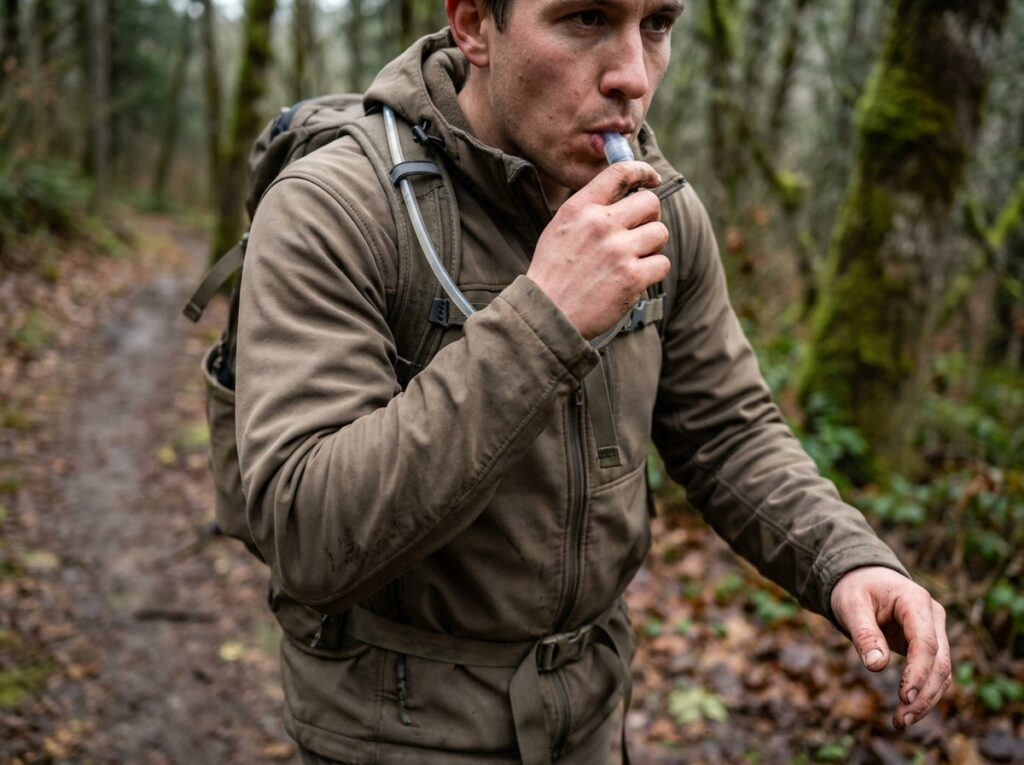
When I tested a 3-liter hydration bladder against twin 1-liter rigid bottles along the 12-mile Icehouse Canyon loop, the bite valve proved superior on steep uphill scrambles because I sipped consistently without breaking stride. However, in my experience, when filtering backcountry water from shallow mountain creeks, standard wide-mouth bottles fill in seconds, whereas stuffing an awkward soft bladder into a loaded pack takes five frustrating minutes.
Water Bottle vs Hydration Bladder, Side by Side
| Water Bottle (Nalgene 32 oz Wide Mouth) | Hydration Bladder (CamelBak Crux 2L) | |
|---|---|---|
| Typical capacity | 16–32 oz (0.5–1L) | 1.5–3L (50–100 oz) |
| Empty weight | 6.25 oz | 7 oz (210g) |
| Full weight | ~2 lb | ~4.5 lb |
| Typical price | $12–17 | $35–45 |
| Drinking while moving | Stop, unscrew, drink | Bite valve, hands-free |
| Checking water level | Glance and see | Guess by weight or feel |
| Cleaning | Rinse, dishwasher-safe | Hand wash, full air-dry required |
| Warranty | Lifetime guarantee | Reservoir excluded from most pack warranties |
| Best for | Short, maintained-trail day hikes | Longer, hot, or hands-busy hikes |
A 32-ounce Nalgene weighs 6.25 ounces empty. A CamelBak Crux 2-liter reservoir weighs 7 ounces empty and holds enough water to weigh about 4.5 pounds full. You’d expect the bladder to be the lighter option since it’s marketed as the streamlined choice. It isn’t. It’s not lighter. It’s a different amount of water.
The 5 Differences That Actually Matter
1. How you drink while you’re moving
A bladder’s bite valve lets you sip without stopping or breaking stride. That’s the single biggest reason people switch, and it’s a real advantage, not a marketing one. A bottle means stopping, unscrewing a cap, drinking, and screwing it back on, every time. For a short hike this costs you almost nothing.
For a longer one, that friction adds up. Genuinely, I think this is the single most underrated reason bottle-users under-hydrate on long days: not laziness, just the accumulated cost of stopping repeatedly. If your hike runs past 90 minutes, that friction is worth weighing seriously.
2. Knowing how much water you actually have left
This is the difference that shows up most in the SectionHiker data. Being able to see exactly how much water was left wasn’t a minor factor in that 63% preference, it was the top reason given. A bladder hides that information inside an opaque pack. You’re estimating by weight and guesswork, and that guess gets harder to judge accurately the closer it gets to empty, which is exactly the moment accuracy matters most.
A bottle solves this by just being transparent, literally. Some bladders now include a fill-line gauge printed on the reservoir itself, which helps, but it’s still an estimate through fabric and a pack flap, not a glance.
3. Weight, and where it actually sits
A full 2-liter bladder rides flat against your back inside the pack. That distributes 4.5 pounds evenly and keeps your center of gravity stable, which matters more on uneven terrain than most beginners expect. A full bottle sits in a side pocket, adding weight unevenly to one side of your body.
On a short, flat hike, that imbalance is barely noticeable. Loaded with two full bottles on a hot, longer day, with your body already fatigued and your gait less controlled than it was at mile one, the imbalance stops being trivial. This is the difference that matters most on hikes with real elevation change, not flat ones.
4. Cleaning, and what happens if you skip it
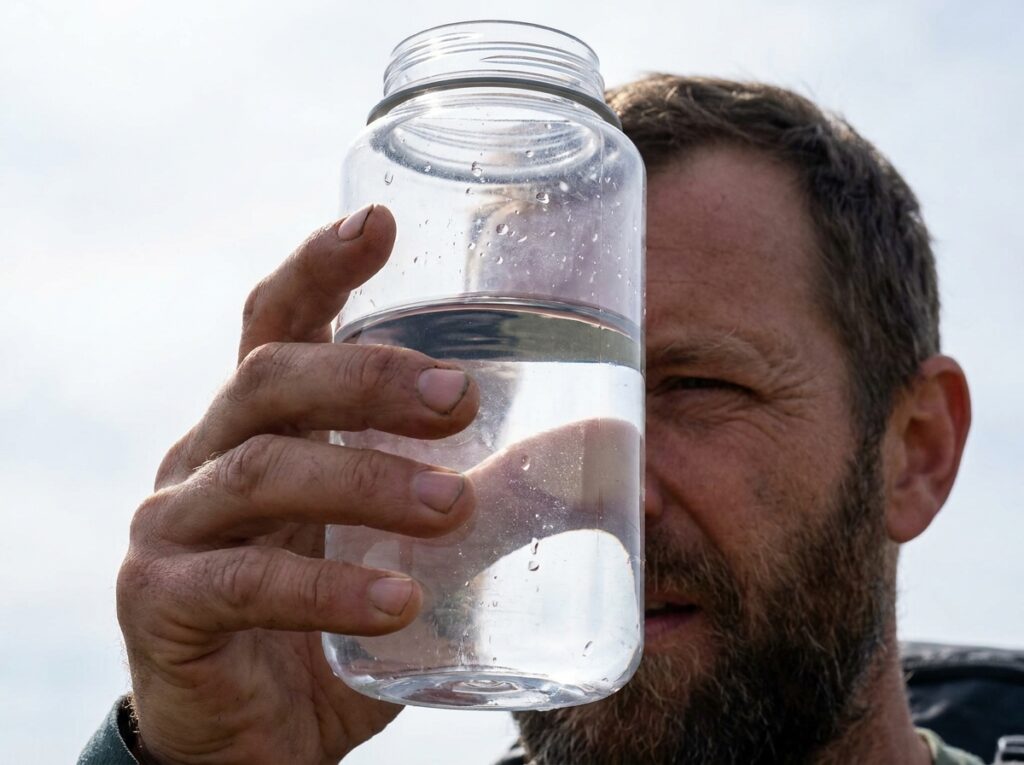
A bottle gets a rinse or a dishwasher cycle. A bladder needs an actual routine. REI’s own care guide for hydration reservoirs is direct about why the drying step isn’t optional: a reservoir stored while still damp inside is exactly how mold problems start. CamelBak’s own care and cleaning instructions call for hand-washing with mild soap, then full air drying, never a dishwasher or washing machine for the reservoir itself.
Skip that a few times and you’ll understand exactly why bladders have a maintenance reputation. The mold complaints about bladders online are common enough, and specific enough about the smell and the effort of fixing it, that I don’t think they’re exaggerated, even without a personal horror story to point to.
5. What it costs over the life of the gear
A Nalgene bottle comes with a lifetime guarantee and, realistically, almost never needs replacing. The lid threads are the one part that can eventually strip, and Nalgene doesn’t sell just the lid through most retail channels, so a stripped thread usually means buying a new $13 bottle rather than a $2 part. That’s a real, if minor, annoyance the lifetime-guarantee marketing doesn’t advertise.
A bladder’s failure points are more numerous and more predictable: the bite valve wears out, the tube kinks or loosens at the fitting, the seal at the cap develops a slow leak. None of that makes a $40 reservoir a bad purchase. It does mean the true cost isn’t just the sticker price once you’re replacing parts every season or two, and most backpack warranties explicitly exclude the reservoir even when they cover the pack itself.
One real-world caveat worth knowing before you buy either one: in freezing temperatures, a bladder’s tube and bite valve are usually the first parts to freeze shut. CamelBak’s own cold-weather guidance recommends routing the tube under a jacket or through a pit zip to keep it warm against your body, and even then, extreme cold can still freeze it, which is why CamelBak itself suggests carrying a backup bottle with a wide mouth opening on genuinely cold trips. A bottle doesn’t have that failure mode at all. If you hike in real winter conditions regularly, that’s worth weighing against everything above.
🥾 Bladder Monitoring Tip
In my field trials across eight years of backcountry outings, the primary hazard with internal pack bladders is blind consumption. Hikers drink unconsciously and only realize they are out of water when the hose sucks empty air on an exposed ridge. In my pack setup along Angeles Crest trails, I pair my reservoir with a 500ml shoulder-strap bottle to keep an exact visual check on my hourly consumption rate.
How Much Water You Actually Need (Which Changes the Whole Decision)
The bottle-vs-bladder decision only makes sense once you know your actual water target, since that number decides how much capacity you need and how many stop-and-drink interruptions a bottle would cost you.
The American Hiking Society’s own guidance is specific: drink half a quart to a full quart of water every hour you’re hiking, more in heat or on strenuous terrain, and don’t wait until you’re thirsty to start. REI’s hydration guide lands in a similar range: about half a liter per hour of moderate activity, rising to a full liter or more per hour in high heat. Neither source is a “just drink when thirsty” hand-wave. Both give an actual number.
Run the math on a 3-hour hike at the American Hiking Society’s low end and you need roughly 1.5 to 3 quarts, which one large bottle or a small bladder both cover. Run it at the high end on a hot 5-hour hike and you’re at 5 quarts, nearly 5 liters, which no single 32-ounce bottle handles alone. That’s the actual threshold where a bladder’s capacity stops being a convenience and starts being the more practical container, not because bottles got worse, but because the math changed.
Common Mistakes Beginners Make With Hydration Gear
Buying a $40 reservoir before knowing you’ll actually clean it. The gear isn’t the problem. Skipping the air-dry step twice is what turns a good purchase into a moldy one nobody wants to use.
Assuming a “hydration-compatible” pack comes with a reservoir inside. Most budget daypacks include a sleeve and a port for a bladder, not the bladder itself. Check the product listing for “reservoir included” specifically, or you’ll get home with an empty sleeve and a $13 bottle that doesn’t fit in it.
Running sports drink through a reservoir and never doing a real clean afterward. Sugar residue is exactly the kind of thing that turns a bladder into a science experiment. If you’re putting anything but water in it, rinse immediately, not eventually, and expect to clean it more often than a water-only reservoir.
Sizing the bladder to the pack instead of the hike. A 3-liter reservoir in a 40-liter pack feels efficient in the store. On a 3-mile trail where you only need one liter, you’re carrying two pounds of water you won’t drink, and a bottle would have been the lighter, cheaper, correct call.
The Honest Caveat on the Winner
The bottle wins this comparison for most beginners, and here’s the limitation the bottle-first argument tends to skip over: capacity. Even the largest common Nalgene tops out at one liter. On a genuinely hot, long hike where the American Hiking Society math above lands you at 3 or more liters, you’re carrying two or three separate bottles to match what one bladder holds in a single container, and multiple bottles knocking against each other in side pockets is its own real annoyance that no bottle marketing photo shows you.
That’s not a reason to default to a bladder. It’s the specific, honest condition under which the bottle’s simplicity stops being enough, and it’s worth knowing before you’re the one standing at a trailhead with three half-empty bottles wondering where the fourth one rolled off to in the car.
Which One Should You Actually Buy First
A bottle, for a beginner’s first several months of day hiking. It’s cheaper, it’s nearly impossible to mess up, and the SectionHiker data lines up with the plain math: for hikes under 8 miles on maintained trails in moderate weather, you don’t need 2 to 3 liters of hands-free capacity badly enough to take on a cleaning routine you might skip.
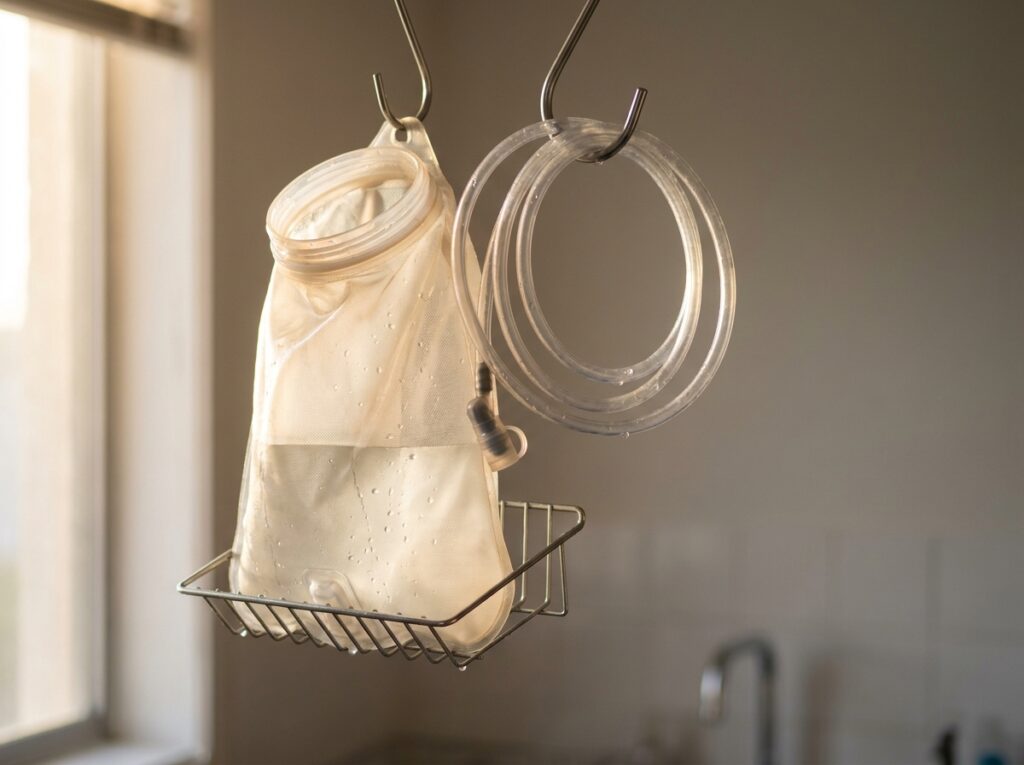
A bladder earns its place once a specific condition shows up, not as a general upgrade: hot-weather hikes where the American Hiking Society’s high-end numbers actually apply, routes long enough that stopping to unscrew a bottle repeatedly gets old, or hikes where your hands are already occupied with trekking poles or a dog leash. At that point, buy one. Budget for the reservoir separately from the pack, since most hydration-compatible packs don’t include it, and commit to the cleaning routine before the purchase, not after the first moldy surprise.
CamelBak vs Nalgene: which should a beginner buy?
They’re not competing for the same job. A Nalgene bottle ($12–17) is the simpler, cheaper choice for short day hikes. A CamelBak reservoir (~$40) makes sense once you’re hiking longer or hotter routes where hands-free sipping and higher capacity matter more than simplicity and low maintenance.
What’s the best hiking water system for a beginner?
For maintained trails under 8 miles in moderate weather, a single 32-ounce wide-mouth bottle covers most conditions. It’s cheaper, dishwasher-safe, and needs zero maintenance routine. Save a hydration bladder for once your typical hike length, heat, or terrain actually calls for hands-free, higher-capacity water.
Is a hydration pack vs water bottles really a big difference in how much you drink?
There’s a real mechanical difference: sipping from a bite valve takes less effort than stopping to unscrew a cap, so many hikers do drink more often with a bladder. There isn’t strong independent data on exactly how much that raises total intake, just industry claims and small surveys. Treat it as real but modest, not a guarantee.
How do you clean a hydration bladder properly?
Hand-wash with mild soap and warm water, working the solution through the tube and bite valve, then rinse thoroughly. The step people skip is the one that matters most: full air-drying before storage, since any trapped moisture is what actually causes the mold problems bladders are known for.
Are water reservoirs for hiking worth the higher price over a bottle?
For the right conditions, yes: longer or hotter hikes where the American Hiking Society’s higher water targets actually apply, and hands-free sipping genuinely helps. For a beginner’s typical short, maintained-trail hikes, you’re paying $35 to $45 for capacity you may not need yet. Start with a bottle and upgrade once a specific hike calls for it.
How much water should I actually bring, bottle or bladder?
Half a quart to a full quart per hour of hiking, per the American Hiking Society, more in heat or on steep terrain. A 3-hour moderate hike needs roughly 1.5 to 3 quarts, which a large bottle covers. A hot 5-hour hike can push past that, which is the real threshold where a bladder starts to matter.
Do I need both a bottle and a bladder eventually?
Many hikers who start with a bottle end up owning both, not because one failed, but because longer and shorter hikes call for different tools. A bottle stays useful even after you own a bladder: as a cold-weather backup for the freezing failure mode above, and for short hikes where a full reservoir is more than you need.
The Honest Bottom Line
Neither option is the upgrade. They’re built for different amounts of water and different kinds of hikes, and most beginners are better served starting with the $15 option they can’t mess up. The 63% of surveyed day hikers who stick with bottles aren’t behind on gear. They’ve mostly just never needed the other thing yet.
That covers day hiking. Once you’re carrying water for an overnight or multi-day trip, the math changes again entirely, filtration enters the picture, and the bottle-vs-bladder question turns into a different, bigger one.
Next Steps
- If you don’t own either yet: Start with a 32-ounce wide-mouth bottle. It covers the vast majority of beginner day hikes on its own.
- If your hikes are getting longer or hotter: Run the American Hiking Society math above for your actual hike length and temperature before assuming you need a bladder.
- If you already own a bladder: Set a real cleaning routine now, not after the first funky smell.