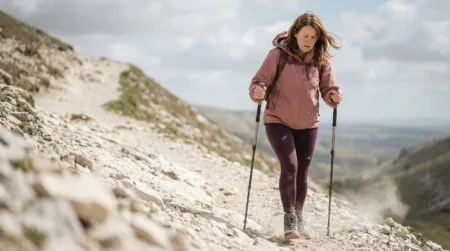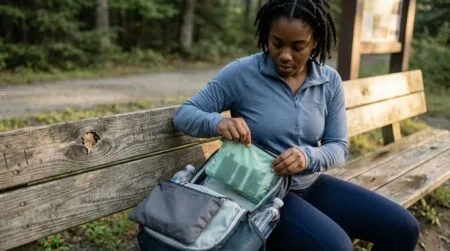


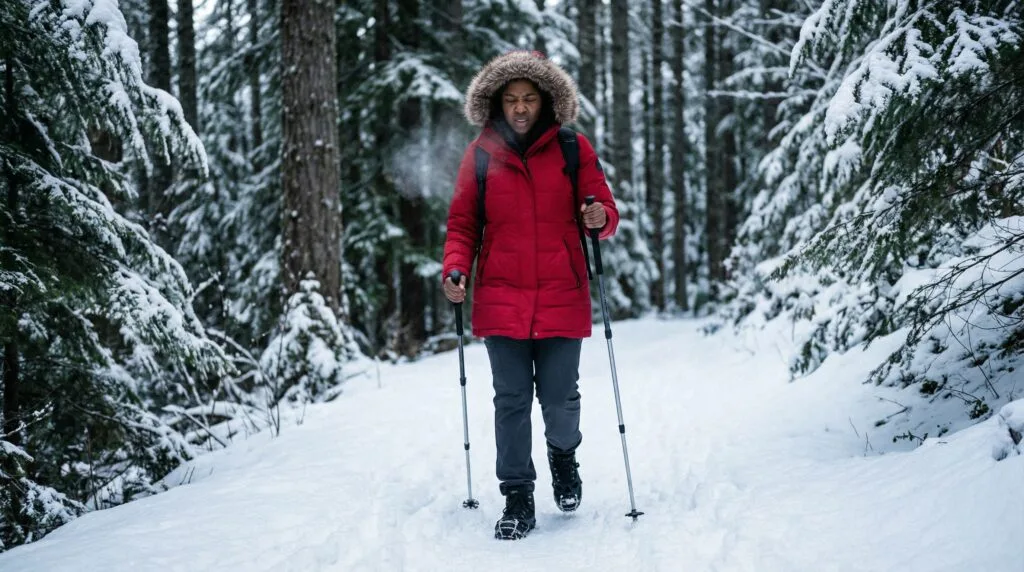
Hiking during the winter months offers peaceful snow-covered scenery, crisp mountain air, and crowd-free trails that you rarely experience during the busy summer season. While winter hiking does require extra attention to temperature management and trail conditions, beginners can safely explore snowy paths by using a simple three-layer clothing system, packing reliable traction microspikes, and picking well-sheltered low-elevation routes.
⚡ Quick Trail Takeaways
- No Cotton: Synthetic or merino wool base layers prevent hypothermia when sweating.
- Traction Control: Carry microspikes/cleats for packed snow and icy trail sections.
- Daylight Pacing: Start early—winter daylight vanishes quickly after 4:00 PM.
I got this wrong myself. A trail I’d done twice in summer, rated Easy on AllTrails, looked reasonable in mid-February. Same distance, same elevation, sunny forecast. What the forecast didn’t show was the ice that had formed on the north-facing descent section at mile 2.5, where the sun hadn’t hit in weeks. My trail runners had no traction on it. I turned around 0.7 miles from the summit, which was the right call. The right call would have been checking trail conditions before I left and bringing microspikes I didn’t own yet.
This guide covers what beginner winter hiking actually requires: how conditions change, what gear matters and what doesn’t, how to pick the right trail for the season, and the specific signals that tell you to turn around.
🟠 Before You Head Out:
This guide covers winter hiking preparation and decision-making, not emergency rescue.
If you are currently in a winter trail emergency: call 911. In areas without signal, activate
your PLB or satellite communicator, stay put if safe, signal for help, and conserve warmth.Read on for everything you need to prevent this situation entirely.
| Layer System | Recommended Material | Function |
|---|---|---|
| Base Layer | Merino Wool / Polyester | Wicks sweat away from skin |
| Mid Insulation Layer | Fleece / Synthetic Puffer | Traps body heat |
| Outer Shell | Waterproof Gore-Tech / DWR | Blocks wind, snow, and rain |
🥾 Oliver’s Trail Notes & Field Observations
When winter snow blanketed the trail from Vincent Gap to Mt. Baden-Powell, I tested standard hiking boots against boots equipped with Kahtoola MICROspikes. Walking on hardpacked morning ice without traction is extraordinarily dangerous; microspikes bite cleanly into consolidated snow and prevent sudden falls on 20-degree slopes. However, I never take beginners onto exposed ridges where true alpine crampons and ice axe self-arrest skills are required.
Beginner Winter Hiking: What Actually Changes
What winter does to a trail you already know
The trail you hiked in September is a different physical experience in January. Not because the route changed, but because the variables that determine difficulty and danger have all shifted.
Footing changes. Ice forms on shaded sections, creek crossings, and any terrain that holds moisture. These don’t appear on trail maps and don’t show up in AllTrails reviews unless someone hiked recently and mentioned them. A dry summer trail can have sections of glare ice in winter that would send a hiker without traction devices straight down.
Daylight is shorter. In January in the continental US, you have roughly 9 to 10 hours of daylight at most. A hike that fit comfortably into a summer afternoon may not leave enough buffer in winter if anything slows you down.
Weather moves faster. Winter weather systems can change conditions within an hour. A clear morning can become a whiteout by early afternoon. Temperature drops rapidly after sunset. Hiking in cold weather tips all point to the same truth: your margin for error is smaller than in summer.
Navigation gets harder. Trail markers disappear under snow. Tracks from other hikers may lead in the wrong direction.
Your body works harder. Cold air increases cardiovascular demand. Postholing through snow exhausts even fit hikers at a fraction of normal pace. Carrying heavier gear adds load. The same rated distance takes significantly longer and costs more energy.
Winter hiking for beginners: trail selection
This is where most beginner winter hiking mistakes start. The right trail for a winter first-timer is not the same trail that was right for a summer first-timer.
What to avoid for your first winter hike
Exposed ridgelines. Wind chill on exposed terrain can drop the effective temperature 20 to 30 degrees below the air temperature. Wind also removes the dead air layer between your body and clothing, accelerating heat loss in ways that can be genuinely dangerous.
North-facing slopes. These see little to no direct sun in winter and hold ice and snow long after south-facing terrain has cleared. Even on a warm winter day, a north-facing descent can be a sheet of ice.
High elevation trails. Weather changes faster and is more severe above 6,000 feet. Trails above treeline expose you to wind and weather with no shelter. Save these for when you have more winter miles under you.
Trails with known water crossings. Ice-covered stepping stones are slippery at best and a cold immersion risk at worst. Wet feet in winter are a hypothermia accelerant.
What works for beginner winter hiking
Lower elevation trails on south-facing terrain with clear markers, moderate distance, and recent positive reviews from other winter hikers. The best beginner winter hiking is often on the same trails that are appropriate for summer beginners, but with confirmed winter conditions from the land manager or AllTrails reviews from the last 7 days.
Check the specific land manager’s website before every winter hike. The National Park Service at nps.gov and the USDA Forest Service at fs.usda.gov both publish current trail conditions, closures, and any permit or equipment requirements for winter use.
Cold Weather Hiking Gear: What You Actually Need
The single biggest difference between summer and winter hiking for beginners is gear. Not the amount of gear. The specific gear.
Cold weather hiking gear: what you need
People can hike in winter with a modest, specific kit. You don’t need to spend several hundred dollars. You do need a few things that don’t have substitutes.
Layers, not one warm layer
The layering system for winter hiking has three components:
Base layer: A moisture-wicking synthetic or merino wool shirt against your skin. Not cotton. Cotton holds sweat against your body and stops insulating when wet, which is why every wilderness training course from the National Outdoor Leadership School mentions it.
Mid layer: An insulating layer that traps warm air. A fleece jacket or down puffer. This is what keeps you warm when you’re stopped or moving slowly.
Outer layer: A wind and water resistant shell. Doesn’t need to be an expensive Gore-Tex jacket. A basic water-resistant shell that blocks wind is what this layer is for.
The critical skill is managing these layers while moving. You’ll overheat on uphills and get cold quickly when you stop. Start cooler than you think you should. You’ll warm up within five minutes. Take a layer off before you start sweating; put one on before you start standing still.
Footwear and traction
Trail runners without traction are adequate for dry, snow-free winter trails. They’re not adequate for ice. Hiking boots with waterproofing are better for wet conditions and provide more ankle stability on icy terrain.
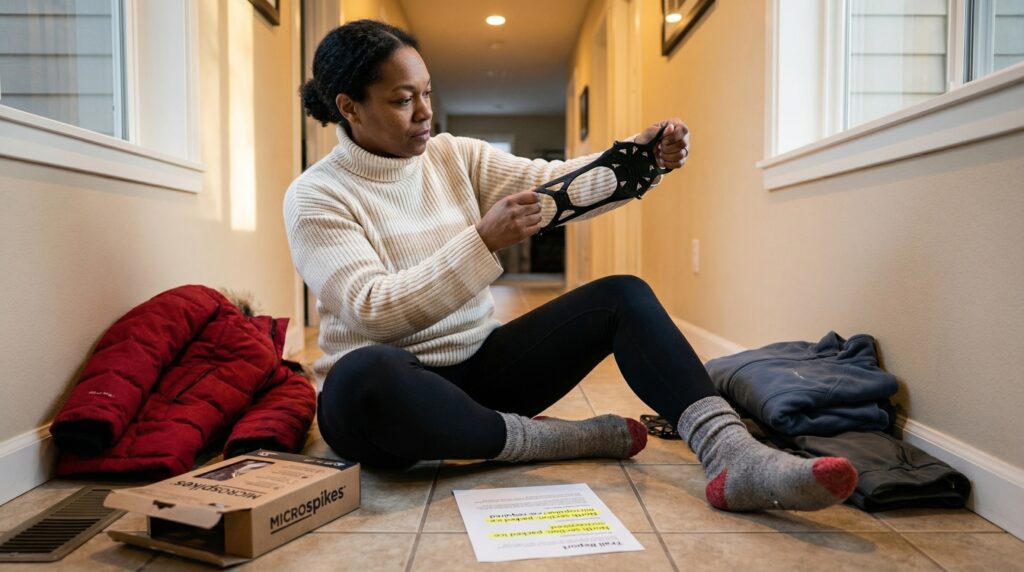
Microspikes are the piece of gear most beginner winter hikers don’t own and most need. They’re metal traction devices that fit over any hiking footwear and cost $30 to $80. They turn a dangerous icy descent into a manageable one. They are not crampons and are not required on every winter trail. But if ice is possible on your route, having them in your pack is the difference between turning around and continuing safely.
Navigation backup for snow hiking basics
When trail markers disappear under snow, your phone and a downloaded map become non-negotiable. Download the AllTrails offline map before you leave. Bring a portable battery charger: cold temperatures drain phone batteries significantly, and a phone at full charge at the trailhead can be at 20% after two hours in freezing temperatures.
A paper map from the land manager’s website costs nothing and doesn’t run out of battery. For winter hikes, having both digital and paper navigation is the standard recommendation from NOLS and wilderness first response training programs.
🥾 Cold-Weather Perspiration Management
In sub-freezing morning temperatures on Angeles Crest, sweating on the uphill climb is your greatest enemy. During my early winter hikes, wearing a cotton t-shirt left my back soaked in cold perspiration; when I reached the windy summit and stopped moving, shivering set in within 90 seconds. Always wear a synthetic or merino wool base layer paired with a breathable mid-layer, and shed clothing before you start sweating.
Winter Trail Safety: What Beginners Need to Know
Winter hiking for beginners means having a clearer go/no-go framework than you’d need in summer. The three non-negotiables:
Winter trail safety: the three non-negotiables
Check conditions the morning of the hike. Not the night before. Mountain weather and trail conditions change overnight. Check weather.gov for the specific forecast, not just the city forecast. Mountain forecasts are listed separately and are more accurate for trails at elevation.
Tell someone your plan. This is standard hiking practice and becomes more important in winter. Give a contact your trail name, trailhead address, expected return time, and what to do if you haven’t checked in by the trigger time.
Start earlier than you think you need to. Factor in significantly more time than the trail’s estimated duration. Snow and ice slow pace considerably. Getting caught on trail after dark in winter is a different situation than in summer.
When to Change Your Plan
Turn Around Now
- Ice on the trail and no microspikes or traction devices
- Visibility below 100 feet due to blowing snow or fog
- Temperature below what your current gear was designed for, with dropping conditions
- Any member of your group showing signs of hypothermia: shivering they can’t control, confusion, slurred speech, loss of coordination
- Less than 90 minutes of daylight remaining and you’re not at the trailhead
- Trail markers completely gone and you can’t confirm your position on a downloaded map
Slow Down and Reassess
- Snow conditions are harder than expected: postholing rather than walking on a crust
- You’re significantly behind your planned pace, more than 30 minutes behind schedule
- Temperature is dropping faster than the forecast predicted
- Any member of your group is persistently cold despite adding layers
You’re Fine: Keep Going
- Trail markers are visible, you can confirm your position, and conditions match the forecast
- Your pace is on track with your planned return time
- You have at least two hours of daylight remaining when you reach your planned turnaround
- Conditions are stable: no incoming weather, temperature holding
One rule: If you’re not sure which tier applies, treat it as the higher one. Turning around early costs you a summit. Not turning around when you should can cost significantly more.
Hiking in Cold Weather Tips: The Practical Checklist
Before you leave home
Check weather.gov for the mountain forecast. Check the land manager’s website or AllTrails reviews from the last 7 days for trail conditions. Pack your three layers, traction devices if ice is possible, downloaded map, backup battery, emergency blanket, headlamp with fresh batteries, and more food and water than you think you need.
Water freezes in hydration bladder hoses in cold weather. Use an insulated bottle or keep it in an inner pocket close to your body.
At the trailhead
Send your trail plan to your contact before you start hiking. Note your start time. Look at conditions from the parking lot: are there ice patches visible? Are other hikers returning with microspikes?
On trail
Eat more than you would in summer. Cold temperatures increase calorie burn significantly. Drink water before you feel thirsty: cold air suppresses the thirst response, and dehydration in winter is real even without visible sweating.
💡 Trail Tip: Carry hand warmers in your pack. They don’t need to be used in most winter conditions, but if you stop for longer than expected or conditions change, they can warm cold fingers to functional within minutes and prevent the kind of dexterity loss that makes doing things like adjusting gear straps significantly harder.
Common Beginner Winter Hiking Mistakes
Wearing cotton
Cotton holds moisture against your skin. In cold conditions, wet fabric accelerates heat loss at a rate that synthetic or wool fabrics don’t. One damp cotton shirt on a cold day doesn’t create an emergency. A damp cotton shirt combined with dropping temperatures and reduced activity can contribute to hypothermia faster than most people expect.
Skipping traction devices because the forecast looks mild
Ice forms in shaded sections regardless of air temperature. A sunny day with a high of 42°F still means the north-facing descent at mile 2.5 is iced over from weeks of no direct sunlight. Microspikes in your pack weigh about 1 pound and cost less than most hiking accessories. Bring them on any winter hike where ice is possible.
Underestimating how much slower winter hiking is
A trail that takes 2.5 hours in summer may take 4 hours or more in winter. Postholing, icy sections requiring careful footwork, layering adjustments, and shorter daylight all compound. Plan for the slower estimate.
Not accounting for the temperature drop after sunset
Temperatures drop quickly after the sun goes down in winter. Fifteen degrees in thirty minutes is not unusual. The hiker who is comfortably warm at 3pm can be dangerously cold by 4:30pm if still on trail without adequate layering. Start earlier. Treat end-of-daylight as a hard cutoff for being back at the trailhead.
Can beginners go winter hiking safely?
Yes, with the right trail selection and preparation. Beginner winter hiking is safest on lower-elevation, south-facing trails with confirmed good conditions, appropriate layering, traction devices if ice is possible, and a realistic time plan that accounts for slower pace in winter conditions. The trails that are appropriate for beginner winter hiking are not always the same ones that were appropriate in summer, even at the same distance and elevation.
What gear do beginners need for hiking in cold weather?
The core cold weather hiking gear for beginners: a moisture-wicking base layer (not cotton), an insulating mid layer, a wind and water resistant shell, waterproof or water-resistant footwear, microspikes or traction devices if any ice is possible, a downloaded offline trail map, a phone battery pack, a headlamp, and more food and water than you’d bring in summer. The layering system is the most important piece because it controls your body temperature throughout a hike where conditions change.
What are the most important winter trail safety rules for beginners?
Three: check conditions the morning of the hike from weather.gov and the land manager’s site, not the night before. Tell someone your trail plan with the trailhead address and trigger time before you leave. Build in significantly more time than the trail’s rated duration because winter conditions slow pace. For specific snow hiking basics on descents, traction devices are the highest-impact safety addition for most beginner winter hikers.
How do you stay warm while hiking in cold weather?
Layer up before you get cold, not after. The layering system works by trapping warm air: base layer manages moisture, mid layer insulates, shell blocks wind and wet. Start your hike feeling slightly cooler than comfortable, add layers when stopped, remove a layer before you start sweating uphill. Eat consistently throughout the hike because your body is burning more calories keeping warm. Drink water even when you don’t feel thirsty because cold air suppresses the thirst response.
What temperature is too cold for beginner winter hiking?
There’s no universal temperature cutoff I can give you, because the answer depends on your gear, the specific trail conditions, the wind, and your experience level. What I can tell you is the framework: if your gear is rated for the temperature, the trail is clear of ice or you have traction devices, the weather is stable, and you’ve confirmed conditions with the land manager, then the temperature alone is less important than the combination of factors. Below 15 to 20°F, the demands on beginner gear and experience increase significantly enough that most wilderness training programs recommend that beginners gain more experience before attempting trails in those conditions.
How do I find trails suitable for beginner winter hiking?
Use AllTrails filters for shorter distances (under 5 miles) and lower elevation gain, then filter reviews to the last 7 days. Read specifically for mentions of ice, snow depth, and conditions. Check the land manager’s website for any winter closures or permit requirements. Look for south-facing trails or those specifically described as clear in winter. For each area you hike regularly, note which trails clear first after snowfall and which hold ice longest: those are the ones to save for spring.
What is the difference between snow hiking basics and technical winter mountaineering?
Snow hiking basics covers maintained trails with snow coverage, requiring microspikes, layering, and winter-specific preparation. Technical winter mountaineering involves steep snow and ice routes requiring crampons, ice axes, and rope skills. Beginner winter hiking stays firmly in the first category. If a trail description mentions “exposed ridge,” “technical terrain,” or “requires navigation skills in whiteout conditions,” it’s outside the scope of a first winter outing regardless of the trail’s summer difficulty rating.
The Trail in January Isn’t the Same Trail
Beginner winter hiking comes down to one honest reality: the same trail you know in summer is a different experience in winter, and that difference isn’t always visible until you’re standing on it. Ice on the descent, shorter daylight, faster weather changes, and heavier gear all change the calculus.
Get the gear right, pick the trail right, and check conditions the morning of the hike. Those three steps convert winter hiking from a risk into a genuinely rewarding experience in cold air with empty trails and a quality of light that doesn’t exist in any other season.
Next Steps
- Right now: Look up a trail you’ve hiked before and find the land manager’s website. Check whether they publish winter conditions. Bookmark it.
- Before your first winter hike: Buy microspikes if you don’t have them. Find the trail’s recent reviews filtered to the last 7 days. Check weather.gov for the mountain forecast.
- Day of: Send your trail plan to a contact before you leave the parking lot. Start at least 30 minutes earlier than you think you need to.
Frequently Asked Questions
Do I need snowshoes for winter hiking?
Not always. If the snow on the trail is packed down and icy, microspikes are much better. Snowshoes are only needed for deep, unplowed powder.
Why should I avoid cotton in the winter?
Cotton absorbs sweat and stays wet. In freezing temperatures, wearing wet cotton drastically increases your risk of hypothermia.
Related Reads
Slept in, grabbed your gear in a rush, and hit the trail way later than you meant to? These 3 rules cover when you should actually be starting a hike so a late start doesn’t turn into a late, exhausted finish.
Stared at a map trying to guess if 4 miles would feel easy or brutal for someone who’s never hiked before? These 5 rules cut through the guessing and help you land on a number that actually fits your fitness right now.
Held off on a hike for weeks just because you didn’t own “real” hiking shoes yet? Here’s the honest truth about hiking in running shoes instead of waiting around for gear you might not even need yet.
Figured a “quick” 3-mile hike would take about as long as a quick errand and got proven wrong? Here’s a much more grounded time estimate for that distance, accounting for breaks, terrain, and how beginners actually move.
Caught yourself wondering if skipping a few weekends in a row was setting you back? Here’s a clear answer on how often beginners should actually be hiking to keep building instead of starting over each time.
Caught your toddler eyeing your hiking boots by the door and wondering if they’re anywhere close to ready for a real trail? Here’s an honest look at what age kids can actually start hiking and how to ease them into it without overdoing it too soon.