


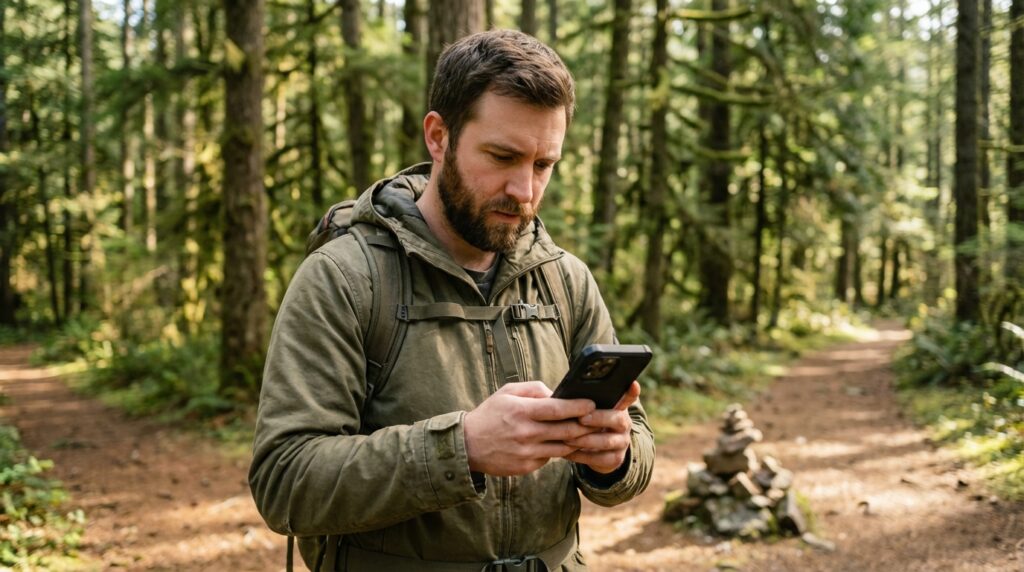
Offline trail maps for hiking are not a nice-to-have. They are the difference between a fork in the trail being an interesting choice and being a problem you cannot solve.
⚡ Quick Trail Takeaways
- Pre-Download Protocol: Always download offline topo map tiles in Gaia GPS or AllTrails+ while connected to home Wi-Fi.
- Battery Preservation: Switch phone to Airplane Mode on trail to prevent battery drain from searching for weak cell signals.
- Analog Redundancy: Carry a waterproof physical topo map and baseplate compass for trips deeper than 3 miles from trailheads.
I learned this at mile 3 on a trail in the Santa Monica Mountains. I had AllTrails open, a fully charged phone, and a trail AllTrails rated easy. What I did not have was a downloaded map. When the trail forked at a point where the app showed no fork, I had zero bars of signal. AllTrails loaded the last-cached screen: the full overview of the trail at zoom level 5. I could see roughly where I was in relation to the parking lot. I could not see which fork continued on the actual route.
I guessed right. I know that because I made it back to the car. I did not know it at the junction, and I spent twenty minutes there not knowing it.
That was the last hike I started without a downloaded offline trail map. This guide covers the four steps to set up offline trail maps for hiking before you leave home, which apps handle each job, and the one step most hikers skip that makes the difference between a map that helps and one that just looks like it should.
🟠 Before You Read On:
This guide is for preparation. If you are currently lost on trail: stop moving, call
911 or text 911 (most US counties). No service: stay put, activate any emergency device,
signal with a whistle (3 blasts = distress). Read this before your next hike.
Offline Trail Maps for Hiking: Why Your Signal Can’t Be the Plan
How fast cell coverage disappears on real trails
Most urban and suburban hikes start in or near cell coverage. That coverage disappears faster than most people expect. A trail that has four bars at the trailhead may have no usable signal by mile 1.5. Canyons, dense forest, and terrain elevation all degrade cell coverage in ways that are impossible to predict from the parking lot. Trails through national forests and parks are notoriously inconsistent: the USDA Forest Service manages over 193,000 miles of trails, the majority of which pass through areas with limited to no reliable cell coverage.
The practical problem: a navigation app without offline trail maps for hiking is effectively non-functional once signal drops. AllTrails, Google Maps, and most map apps load their map tiles from the internet in real time. Without signal, the tile doesn’t load. You get the cached overview screen, or a blank gray grid, or the last-loaded segment at whatever zoom level you were on when signal dropped. None of these help you confirm which fork is the right one.
What hiking without cell service actually means for navigation
Hiking without cell service does not mean hiking without tools, provided those tools were prepared before the hike started. A downloaded offline trail map works identically with or without signal: the map data lives on your phone, not on a server, and displays your GPS-tracked position regardless of cell coverage. GPS location tracking does not require cell service. The map tile that shows you where you are relative to the trail does require it, unless you downloaded that tile before you left.
The distinction is easy to confuse because both functions use your phone. Your phone knows exactly where it is at all times via GPS satellite, even with no service. The problem is displaying that location on a map it cannot load. Offline trail maps for hiking solve the display problem. They do not improve GPS accuracy or cell coverage. They give you the map the GPS needs to be useful.
How to Set Up Offline Trail Maps for Hiking in 4 Steps
Step 1: Download AllTrails offline maps before leaving home
The AllTrails offline maps feature requires a paid AllTrails Plus or Pro subscription, which costs roughly $36 per year as of early 2026. The free version of AllTrails does not support offline downloading. This is the first thing to verify before your hike day, not the morning of.
How to download AllTrails maps the right way
Open the specific trail page you plan to hike. Tap the download icon before you leave home, on a stable wifi connection. The download includes the full trail route, elevation profile, and the map tiles surrounding that trail at multiple zoom levels. Once downloaded, the trail appears in your “Downloaded Maps” section and is accessible when you open AllTrails in airplane mode.
The critical detail: download the trail map at home, not in the parking lot. Trailhead cell coverage is unreliable. Starting a download in a parking lot with one bar of signal takes two to three times longer than on wifi and may stall before completing. If you arrive at a trailhead with an incomplete download, you have a partial map that may not cover the sections where you actually need it.
💡 Trail Tip: After downloading, open AllTrails in airplane mode at home and verify the map loads at trail zoom level before you drive to the trailhead.
A download that appears complete sometimes fails to cache all tile levels. Testing it at home takes 60 seconds and confirms you actually have an offline map, not just a downloaded route line over a gray background.
Step 2: Set up a dedicated offline GPS app as your backup
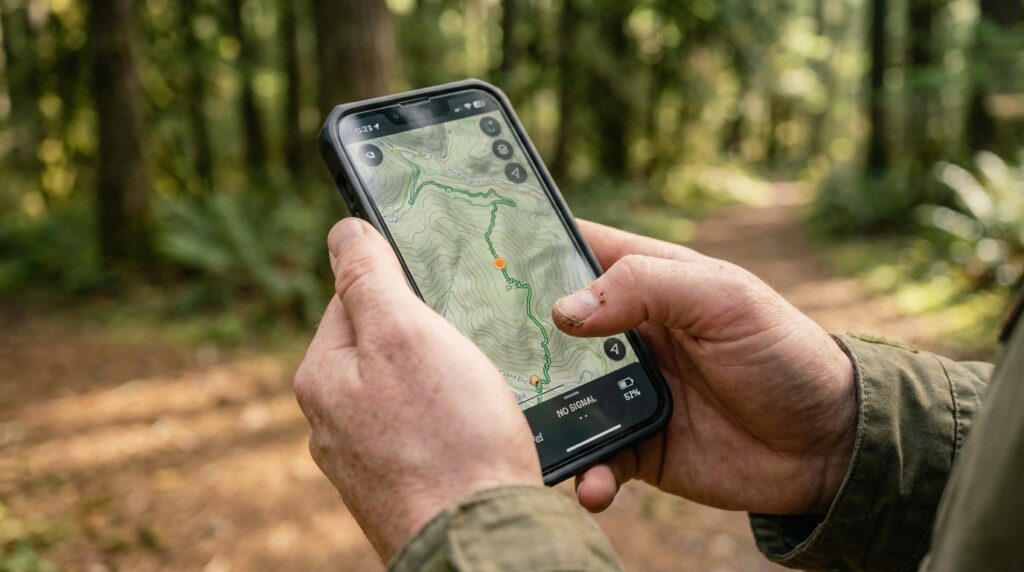
AllTrails offline maps are good for following a specific downloaded trail. For navigation that goes beyond a single trail, getting oriented when a trail looks wrong, or hiking routes not well-documented on AllTrails, a dedicated offline GPS app is a separate and better tool.
Best offline GPS for hiking: three apps that work
Gaia GPS is the most widely recommended option among experienced hikers. It downloads topographic maps, national forest overlays, and satellite imagery in selectable regions, not just individual trails. A Gaia Premium subscription costs roughly $40 per year. Download the map region covering your hike and a meaningful buffer around it. If you end up off-trail, you want map coverage beyond the trail corridor itself.
Avenza Maps uses a different model: you download specific PDF-based maps, including official USGS topographic maps, USDA Forest Service maps, and state park maps, and the app overlays your GPS position on them. Many of those maps are free to download from the Avenza store. For hikers who want the same topo maps rangers use, this is the most direct path to them.
CalTopo offers a browser-based planning interface and a companion app that downloads custom-selected map regions in multiple layers. It is more technical than AllTrails to set up and is better suited to hikers who have done several overnight trips and want more granular navigation data.
For a beginner on maintained trails: Gaia GPS is the right starting point for the offline navigation tools category beyond AllTrails.
Step 3: Download Google Maps offline for approach roads and town navigation
Downloading Google maps for hiking is a specific misunderstanding worth addressing directly. Google Maps offline covers roads, towns, and general geography. It does not include trail routes, trailhead locations within parks, or topographic information. What it does cover is the drive to the trailhead, the nearest town with a ranger station, and roads navigating back from a trailhead in an unfamiliar area.
Setting up the Google Maps offline download
Open Google Maps, search your destination area, tap your profile icon, select “Offline maps,” and then “Select your own map.” Draw a box around the region you need to cover. For most day hikes, a box covering the nearest town and the general trailhead area is sufficient. Google Maps offline areas expire after 30 days and need to be refreshed.
Downloading Google maps for hiking fills the gap that trail apps leave: if you need to drive to a ranger station, find a cell signal in the nearest town, or navigate back to a highway from an unfamiliar trailhead, Google Maps offline has that information. AllTrails and Gaia GPS do not. Use both.
Step 4: Screenshot the trail map at trail zoom level in the parking lot
This is the step most hikers skip and the one that matters most when everything else fails. Before you enter the trail, open your offline trail map and screenshot the trail at the zoom level where you can see individual trail junctions. Typically that is somewhere between zoom level 14 and 16 on most apps. Do this for each section of trail with a junction or a fork.
Screenshots do not require a working app, a charged-enough battery to run the app, or any cell service. They are static images stored in your camera roll. If your phone battery gets critically low and you have to turn it off to preserve it for an emergency call, those screenshots are still there the moment you turn it back on.
💡 Trail Tip: Take screenshots at every junction you expect to encounter, not just the trailhead overview.
An overview screenshot from the parking lot shows you the full trail but not the detail of the 0.3-mile section where three use trails branch off the main route. Zoom in and screenshot each decision point specifically.
Common Mistakes with Offline Navigation Tools
Downloading the overview map, not the trail map
This is the most frequent error with offline trail maps for hiking, and it produces a false sense of security. The overview map shows you where the trail is in relation to the parking lot. The trail-level map shows you where the trail is relative to you at the junction you’re standing at. These are different tools.
A downloaded overview map at zoom level 6 tells you the trail goes generally north for 3 miles before looping back. It does not tell you whether the faint path splitting off at mile 1.8 is the actual trail or a use trail that leads to a private property boundary. Download both. Screenshot the sections where you actually need detail.
Trusting the app without testing it offline first
Every offline navigation app has a different behavior when it goes offline. Some display a seamless offline map. Some show a clear “offline mode” indicator. Some appear to function normally but are actually pulling map tiles from a cache that covers only the last-viewed section. Testing your offline trail map at home, in airplane mode, before you drive to the trailhead is the only way to know which category your app falls into. The five minutes spent testing saves the twenty minutes spent at a junction guessing.
Treating offline navigation tools as the only backup
Offline navigation tools are significantly better than no navigation tools. They are not a substitute for telling someone your plan before you leave. The American Hiking Society and the National Park Service both identify the pre-hike contact as one of the most consistently protective safety habits hikers have. Tell someone the specific trail, the trailhead name, and your expected return time before you start. Offline maps help you stay found. A contact person helps rescuers find you if you can’t help yourself.

When to Change Your Plan
🔴 Turn Around Now
- Your offline trail map shows you are more than 100 feet from the marked trail line and you cannot identify the correct route from visible landmarks
- Less than 1.5 hours of daylight remain and your offline map confirms you are more than 2 miles from the trailhead
- Your phone battery is below 10% with no offline screenshot backup and no emergency contacts aware of your location
- You have been walking in an unfamiliar direction for more than 15 minutes without confirming your position against a trail marker or junction
🟡 Slow Down and Reassess
- You have not seen a trail marker in 10 minutes: stop, open the offline trail map, compare visible terrain features to the map before continuing
- Phone battery between 10% and 25%: switch to airplane mode to conserve battery, navigation apps work in airplane mode with downloaded maps
- Your offline map shows you are slightly off the trail line: do not keep moving in hopes it corrects itself; verify against a landmark before taking another step
✅ You’re Fine: Keep Going
- Your last confirmed position on the offline map matches where you believe you are, verified against a visible trail marker or landmark within the last 20 minutes
- Phone battery above 40% with airplane mode preserving it on the return leg
- You have a screenshot of each upcoming junction and the trail matches the screenshot
One rule: When unsure which tier applies, treat it as the higher one. Stopping to verify position costs 10 minutes. Continuing in the wrong direction costs significantly more.
Offline Trail Maps for Hiking: Frequently Asked Questions
What are offline trail maps for hiking, and do I need them for a short hike?
Offline trail maps for hiking are downloaded map files that display your GPS position on a trail map without requiring cell service. For hikes under 2 miles on well-marked, heavily trafficked trails, the risk of needing them is low. For any hike where trail junctions exist, where the route passes through national forest or park land, or where you don’t know the trail from prior experience, download an offline map regardless of distance. Cell coverage at trailheads is not predictive of coverage at mile 2.
How do AllTrails offline maps work, and what does the paid version add?
AllTrails offline maps require an AllTrails Plus or Pro subscription. The download includes the trail route and surrounding map tiles. In practice, this means you can track your position on a full map without signal. The free version of AllTrails caches only recently viewed tiles, which is not the same as a complete offline download. The paid download covers the full trail corridor. Verify the download is complete by testing it in airplane mode before you leave home.
What is the best offline GPS for hiking for a complete beginner?
Gaia GPS is the most practical option for a first step beyond AllTrails. It downloads full topographic map regions rather than individual trails, which means you have coverage beyond the corridor of your planned route. Avenza Maps is a strong alternative if you want to use official USGS or USDA Forest Service topo maps. Both cost roughly $35 to $40 per year. For a beginner on maintained trails, Gaia GPS has a more accessible interface.
Is downloading Google Maps for hiking enough on its own?
No. Downloading Google maps for hiking covers roads, towns, and general geography around the trailhead area. It does not include trail routes, trailhead locations within park boundaries, or topographic detail. Use Google Maps offline for approach roads and finding the nearest town with services. Use AllTrails or a dedicated GPS app for the actual trail. The two tools cover different problems and neither replaces the other.
What should I do if I get lost while hiking without cell service?
Stop moving immediately. Use your offline trail map to identify the last position you are confident about and compare visible terrain features, ridgelines, distinct trees, and water crossings to what the map shows. If you can reorient, move carefully back to the last confirmed point. If you cannot, stay put, activate any emergency signaling device you have, and use a whistle in three-blast distress signals. The National Park Service guidance on getting lost consistently identifies staying put as the correct response when orientation is lost, because searchers can find a stationary person significantly faster than a moving one.
Download It Before You Need It
Offline trail maps for hiking are a before-the-hike decision. There is no version of this setup that works when you are already standing at an unmarked junction with no signal. The apps take minutes to configure. The downloads take a few seconds on wifi. The screenshot takes 60 seconds in the parking lot.
My position on this: a navigation app with no downloaded map is not a navigation tool. It is a blank screen with your trail name on it. The setup described in this guide takes under 20 minutes total and does not expire until your next hike. Set it up once, test it in airplane mode, and you have eliminated the most common and most preventable navigation failure beginners run into.
Next Steps
- Right now: Open AllTrails and check whether your account is free or paid. If free, upgrade before your next hike so the offline download feature is available.
- Before your next hike: Download the specific trail map at home on wifi, then open AllTrails in airplane mode to confirm the map loads at trail zoom level.
- Day of, in the parking lot: Screenshot every junction on the route before you start walking.
Related Reads
Felt that gut-drop moment when the trail markers stopped matching what your map showed at all? Here are 5 steps to actually follow if you get lost hiking, the kind that keep panic from making a bad moment worse.
Skipped exploring trails near you because every search result seemed to come with a parking fee attached? Here’s how to track down solid hiking trails near you that don’t cost a thing.
Tore out of the gate fast and spent the entire second half just trying to recover? These 7 pacing techniques fix that imbalance so your energy actually carries you to the end.
Stared at a sprawling gear list online and couldn’t tell which items were genuinely necessary versus just filler? Here’s a breakdown of the real 10 essentials for hiking, no overpacking required.
Trusted an app’s “easy” label and still ended up stopping every few minutes to catch your breath? Here’s how AllTrails actually builds those difficulty ratings, and why the label doesn’t always match what you’ll feel out there.